Marching is a fun trick that builds on something your dog may already know: lifting their left and right front paws on separate cues. From there, you can develop alternating, high-stepping movements, either on the spot or as your dog moves toward you.
I’m working on this trick with Bliss, and it’s still a work in progress. The starting point is to teach each paw movement clearly before putting the two together.
1. Warm Up With Left and Right Paw Cues
Your dog needs to know a different cue for each front paw before you begin. Those cues can be verbal, visual, or a combination of both.
If you haven’t taught that foundation yet, start with this left and right paw tutorial.
Begin with your dog sitting in front of you. Ask for one paw, mark the correct response, and reward. Then ask for the other paw. You’re checking that your dog can lift the particular paw you’ve requested, rather than simply offering whichever one they prefer.
For most dogs, sitting is the easier starting position. There’s less weight on the front legs, so lifting one paw doesn’t involve the same weight shift and balancing effort as it does when standing.
2. Use the Back of Your Hand to Encourage a Higher Lift
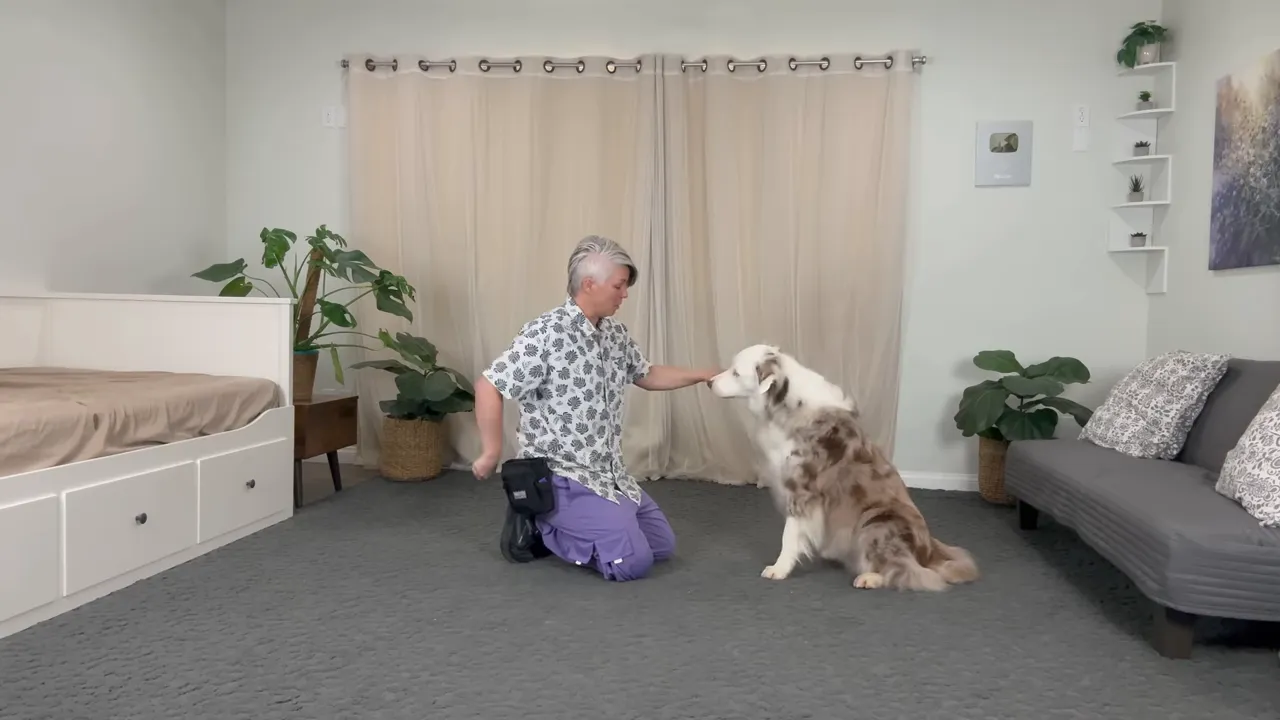
Next, change the hand target. Instead of asking your dog to place a paw on top of your open hand, ask them to touch the back of your hand with their paw.
- Present the back of your hand as the target.
- Give the familiar cue for that paw.
- Mark the moment the paw touches the back of your hand. I use “Good.”
- Reward, then practice with the other paw using its own cue.
This helps encourage your dog to lift their foot up, rather than looking for your palm to rest it on. That lifting action is what you’ll build into the marching movement.
3. Add Your Marching Cues
Once your dog is offering the movements, you can introduce the cues you want to use for marching. I’m using “kick” for one front paw and “step” for the other.
Introduce each new cue with the corresponding paw movement, using the familiar paw cue to help as needed. Practice each side, marking and rewarding the correct lift, then begin alternating:
- Kick.
- Step.
- Kick.
- Step.
You can also decide what you’d like the finished movement to look like. You might prefer a more extended front leg or a lift with the leg bent. Keep that picture in mind as you mark the movements you want to develop.
4. Practice the Same Movements Standing Up
Now ask your dog to do the paw lifts from a standing position. Start by asking for one paw, marking and rewarding, then asking for the other.
You may need to go back to the original paw cues here. Your dog is now doing the behavior in a different position, with more weight to shift off the paw they’re lifting. Use the familiar cues to help explain the task, then continue working with your marching cues.
As the individual lifts become clearer, alternate “kick” and “step” while your dog remains standing. This is the foundation for both versions of the finished trick: marching in place and marching forward.
5. Choose Marching in Place or Moving Forward
Marching in place
For a stationary march, ask your dog to alternate their front paws without traveling forward. You can use a platform to help prevent them from inching toward you as they perform the trick.
Marching toward you
To add forward movement, back up a little as you cue each paw. Most dogs will move toward you as you step away, allowing you to combine the paw lifts with forward steps.
If your dog needs more help, you can use a familiar cue that means to move toward you, or encourage them to follow. Continue asking for the alternating lifts as you move backward.
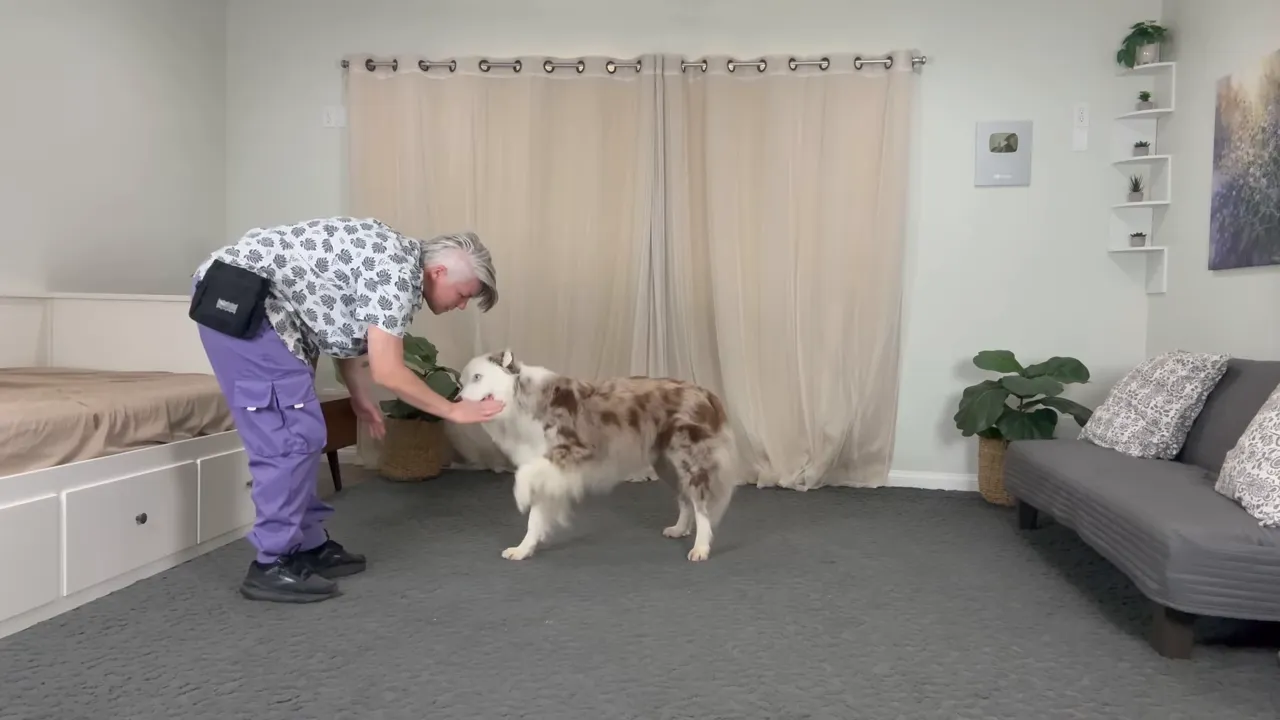
The sequence is the same: kick, step, kick, step. The difference is that you’re now making room for your dog to travel toward you while doing it.
Bliss and I are still developing the finished trick. For now, I’m building those clear individual paw lifts and putting them together. Start with the familiar movements, help your dog when you change positions, and enjoy seeing their march take shape.


